If you spend any time look for Mac software outside the Mac App Store, you’ll likely see references to “Homebrew.” It’s often listed as an alternate way to install applications, sometimes on websites but especially on Github. It’s a tool that most Mac power users install right away, and it’s really not all that difficult to use.
The problem with installing apps on a Mac is that finding and installing such software can be time consuming. You need to find the app’s website, download the DMG, mount it, and drag the icon over to Applications. Some applications make you do this again every time there’s an update. Not with Homebrew—if you have that set up, installing software is as easy as typing three words in the Terminal: brew install and the name of the application; for example, brew install firefox. Hit enter and Homebrew will find the latest version of Firefox and install it for you. You can even install several applications at once this way: just add more names for applications at the end of the command.
Anyone with Linux experience is going to recognize this as a “package manager,” which basically all Linux-based operating systems use to install and manage software; Homebrew is built from the ground up to be a package manager for Mac.
Setting up and getting started
Installing Homebrew on a new Mac is simple: just head to brew.sh, the Homebrew homepage. You’ll find a command there you can copy to the Terminal in order to install Homebrew. (I am intentionally not putting the command here in case it changes—it is far better for you to get the command directly from the source.) The software is good about explaining everything it is up to, every step of the way, so be sure to pay attention.
After that you can use the software. One of the first things I usually install is wget, a command line application for downloading files that Apple inexplicably hasn’t included in macOS. To install the application I need only to type brew install wget; Homebrew does the rest: the relevant software is downloaded and installed and I can start using it immediately.
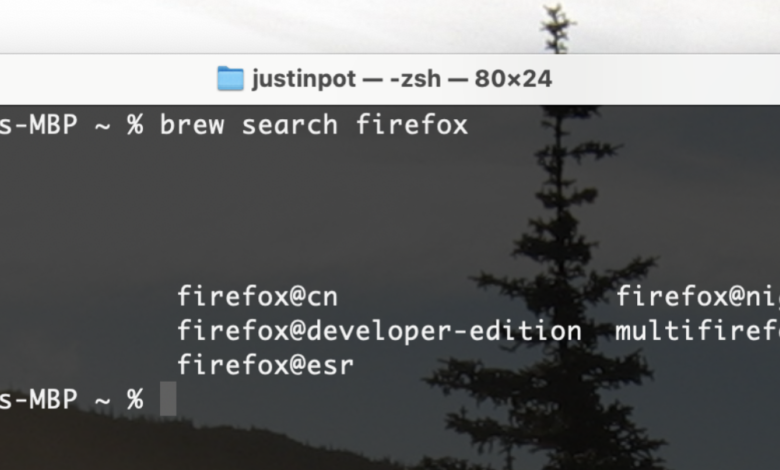
Not sure if a given application is offered by Homebrew? You can look for it using brew search. Just look for what you want and you’ll get the name of the package. Failing that, you can search for Homebrew software on the website’s directory, which some users might find a little easier.

Credit: Justin Pot
As you get started using Homebrew, here are a few more commands worth knowing: The command brew remove can uninstall anything you’ve installed using Homebrew. The command brew update can check for updates and brew upgrade will install all updates.
This is all an extremely simple look at Homebrew, of course. This software can do a lot more and I highly recommend digging into the documentation if you’re curious. It’s one of those applications that you get used to using and wonder how you ever lived without.