The Ultimate Guide to Safe & Simple Updates (2024)


Your Apple ID email address is the cornerstone of your Apple experience, granting access to iCloud data, apps, purchases, and a suite of services. But life changes – you might get a new email due to a career move, privacy concerns, or just the desire for a digital refresh. Updating your Apple ID email isn’t merely about convenience; it’s a fundamental step in maintaining account security, regaining control if you lose access to an old email, and ensuring you receive vital communications from Apple.
This comprehensive guide will walk you through every scenario and platform for updating your Apple ID email, offering troubleshooting tips and addressing questions found in online communities.
Why an Updated Apple ID Email is Essential:
- Security: Outdated or compromised emails make your Apple ID vulnerable. A fresh, strong email acts as a digital fortress.
- Access: Losing access to your old email could lock you out of your Apple account. Prevent this nightmare scenario by updating.
- Notifications: Stay informed about your purchases, subscriptions, security alerts, and Apple news.
- Digital Declutter: Consolidate your online identity by using your preferred email address across all Apple services.
Who Should Update:
- Anyone with a new email address.
- Those seeking to simplify their digital life by merging email accounts.
- Users prioritizing Apple ID security.
- Individuals experiencing trouble accessing their Apple ID due to an outdated email.
When & Where to Update:
The best time to update is immediately after your email changes. Don’t procrastinate, as the longer you wait, the higher the risk of complications.
You can update your Apple ID email on any Apple device (iPhone, iPad, Mac) or through a web browser on any computer.
The Step-by-Step Guide:
- On Your iPhone or iPad:
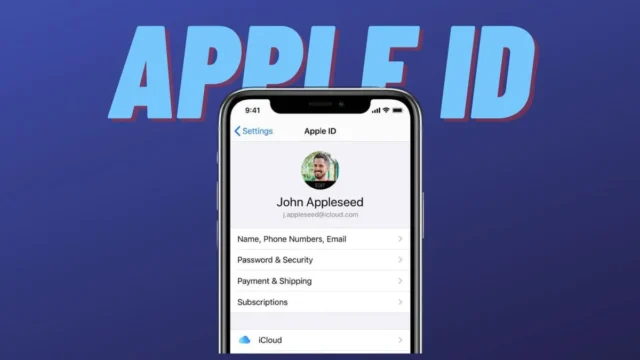
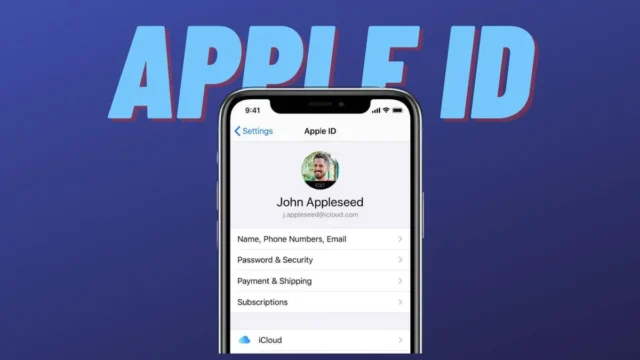
- Settings > [Your Name] > Password & Security > Contact Information
- Tap “Edit” next to your Apple ID, enter the new email, and tap “Continue.”
- Verify the change with the code sent to your new email.
- On Your Mac:
- Apple menu > System Settings > Apple ID (sidebar) > Password & Security
- Click “Edit” next to the Apple ID, enter the new email, and tap “Continue.”
- Verify the change with the code sent to your new email.
- Using a Web Browser (appleid.apple.com):
- Sign in with your current Apple ID and password.
- Go to “Account” > “Personal Information” > “Edit.”
- Enter the new email, click “Continue,” and verify with the code sent.
Navigating Roadblocks:
- Verification Email Not Arriving: Check your spam folder and resend the code if needed.
- Two-Factor Authentication (2FA): You’ll need a code from a trusted device or phone number in addition to the email code.
- Security Questions: Be ready to answer security questions to prove your identity.
- Forgotten Password: If you can’t recall your password, initiate a password reset process using your old email before attempting to change it.
Beyond the Basics:
- Rescue Email: Designate a backup email (different from your Apple ID email) to recover your account if needed.
- Password Manager: Simplify password management and enhance security by using a reliable password manager.
- Apple ID Health Check: Regularly review your Apple ID settings for accuracy and security.
The Payoff:
Updating your Apple ID email isn’t just a technical task; it’s a proactive measure to safeguard your digital life. A current email ensures smooth access to your Apple world, protects your data, and keeps you connected to the latest from Apple.
Source link


